
Well, here is my version - hope you enjoy!
- Versa Mark ink stamp,
- Clear embossing powder,
- Assortment of distressing inks,
- Heat resistant craft mat,
- Water in a spritzer,
- Stamp in the image you want to show through
- Heat gun

Step ONE
Stamp image onto paper with Versa Mark ink. This ink is great for embossing clear, as it is clear itself - but it is hard to see on the paper, so keep good lighting on hand :o)

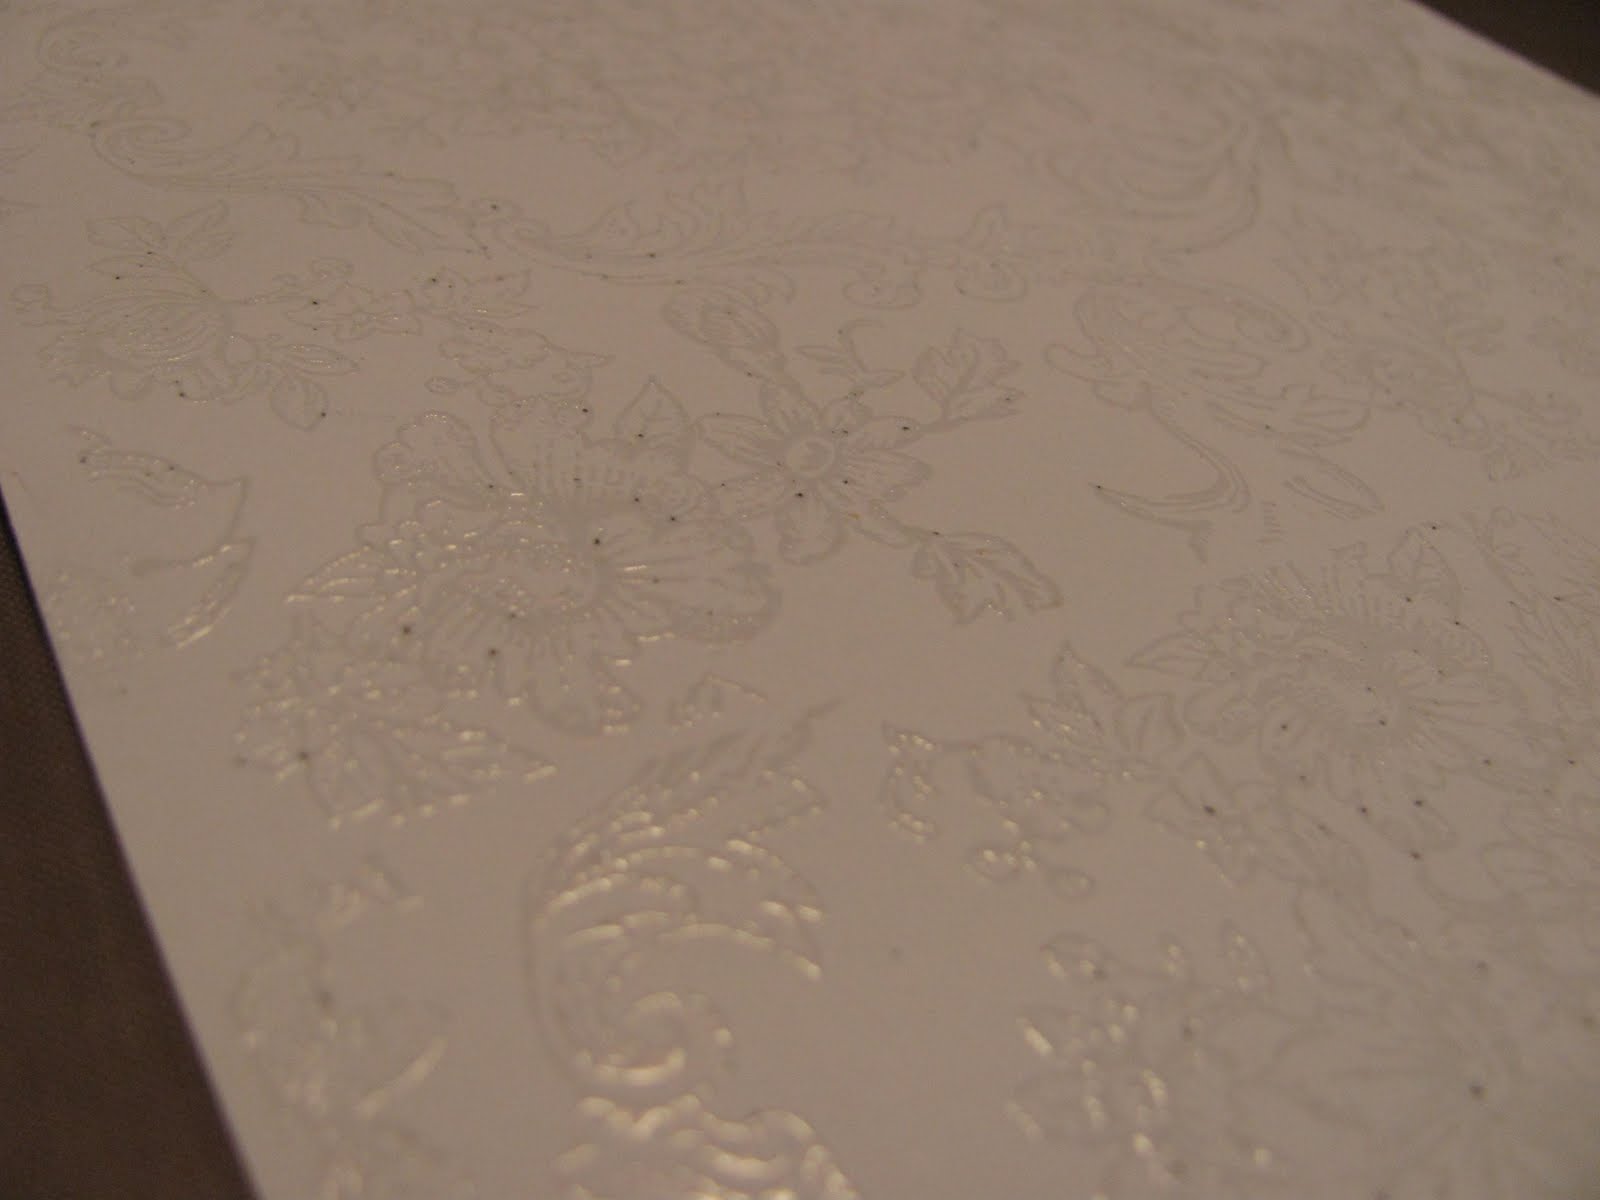
Step TWO
Sprinkle the clear embossing powder onto stamped image - ensure you have full coverage. Use your heat gun to cure the powder.

Step THREE
Stamp directly onto the craft mat with the distress inks. My suggestion is to stamp the lighter coloured inks first so that you don't contaminate your ink with a darker colour. Distress inks are dye inks that have a unique property that when water is added they wick with the water without breaking up the ink's properties or colour.

Step FOUR
Spray the ink down with your water spritzer, until large droplets of colour form.

Step FIVE
Drag your embossed paper through the ink droplets, and dry with the heat gun again.


You can get creative with this and use more or less embossing, more or less distress ink, try different colours and images. Enjoy it! There are no mistakes in Scrapbooking, that's the beauty of it, you just add an embellishment :o)


Let me know your thoughts, and show me your results!
Follow my Blog!
this is really cool! Thanks for sharing!
ReplyDelete