side bars

Saturday, July 30, 2011

Pink Paislee - Butterfly Garden

Two layouts to share using the A-MA-ZING Butterfly Garden collection.  What a fantastic line, full of soft peaches, light blues and distressed browns.  Just begging for a shabby chic!

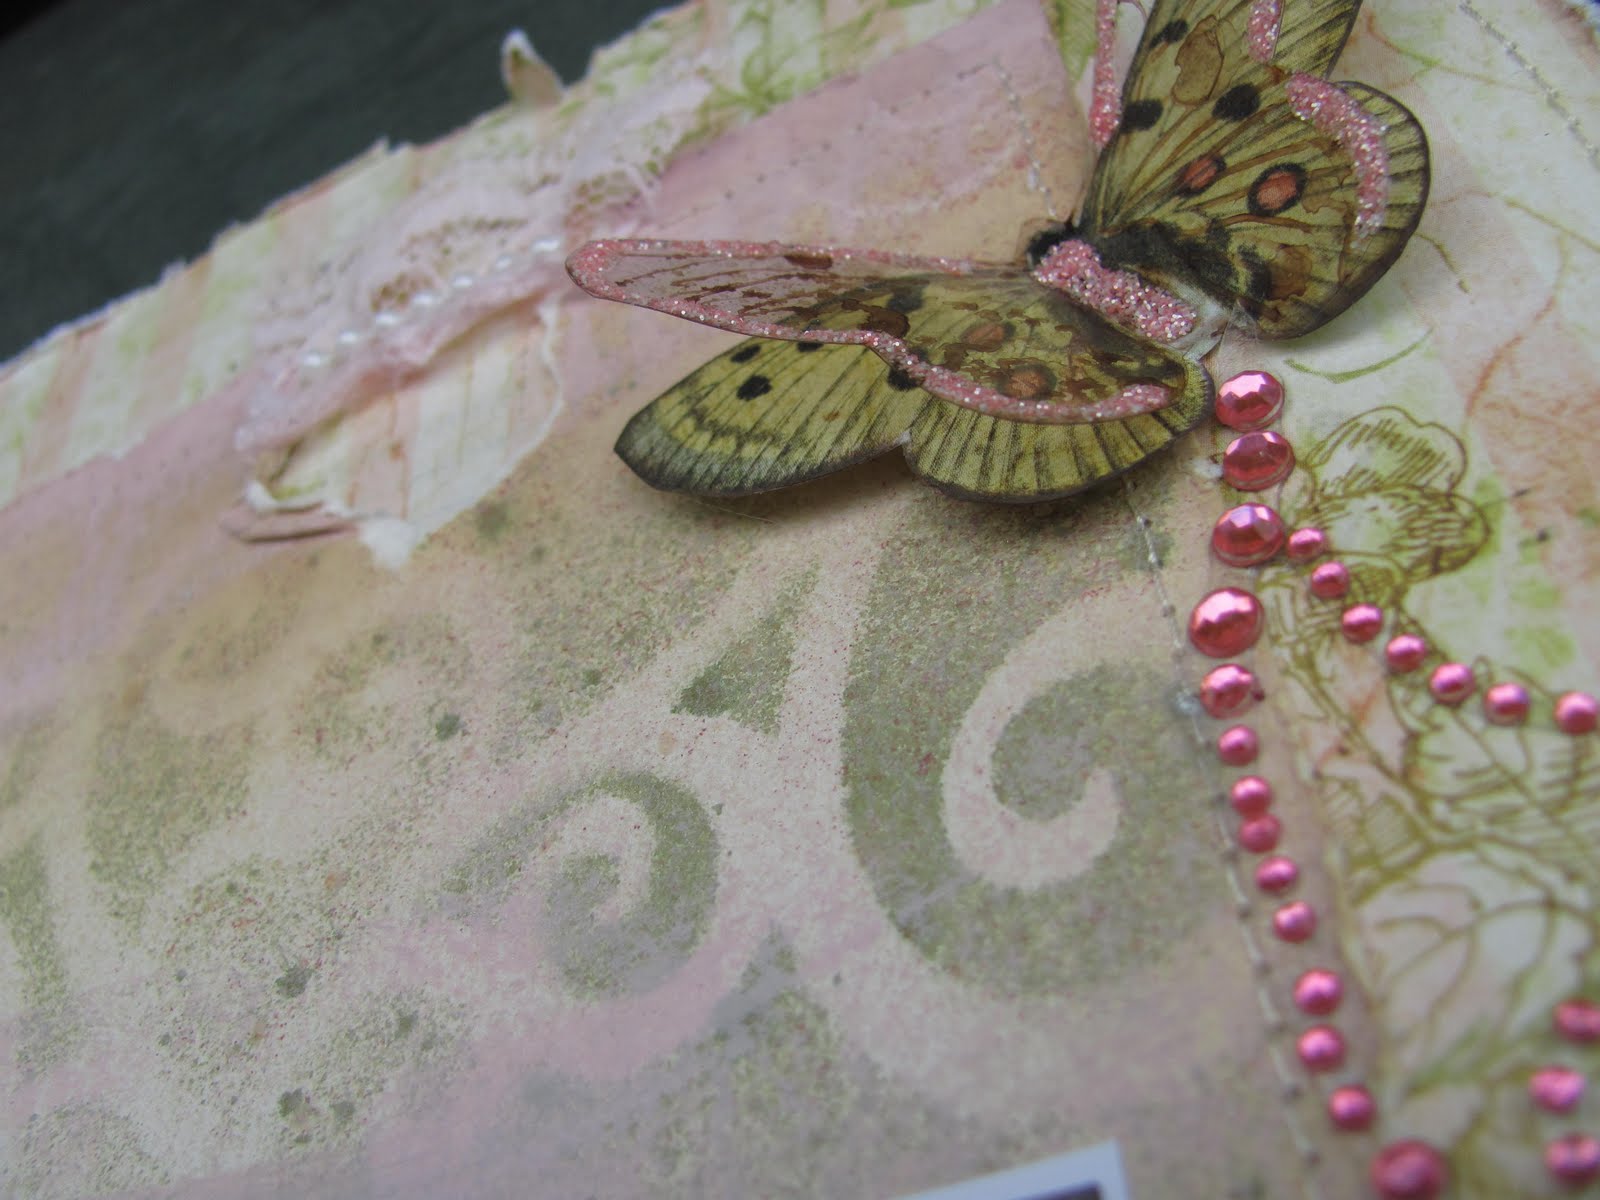
The first layout isn't really titled, but I will call it "Imagine" as that's the Tim Holtz trinket tag I used on it - I haven't thought of anything suitable, and therefore it contains no journaling either.  I did some masking and Glimmer Mist stamping, and small beige flower at the right if the ribbons and trim is one of my own creation.  You may have seen it in an earlier posting.


The second layout I've called "Tackle" and the journaling reads


"You two have so much fun tackling each other on the floor. But for some reason its always Nigel who comes out of it with a bruise"


I used a few different materials on this piece, I braided some raw canvas, and did the letters in chipboard covered in dictionary text.  I also used a piece of material that you use to hem with - it is called fusible web - it was really neat to work with, as it will stick to whatever you have it touching when you apply heat - which I did with my heat gun.  One of my Cabbage Roses, this time made out of a page from a hymn book and sprayed with Glimmer Mist.  I also used some Staz On ink on acetate to make some 3D butterflies.

Happy crafting everyone! 

Enjoy!

Monday, July 25, 2011

Little bit of Copic, little bit of Magnolia, little bit of Bo Bunny

Kinda reminds me of that song Mambo #5 by Lou Bega! A little bit of Copic, a little bit of Magnolia, and little bit of Bo Bunny Gabrielle line ... wow what a beautiful card.  Topped off with my signature cabbage rose.  This time I added a spiked centre to the flower to give it a punch of the blue colour.

Bo Bunny put out a challenge to make your own embellishment.  Well if you know me, then you know I love making my own flowers and always put at least one flower on every project that I make - this card is no exception.

I tried to match the colours in the amazing Gabrielle with my Copics and used a Magnolia stamp "Tilda with Flowers"

I hope you enjoyed my latest endeavor, let me know what you think!

Sunday, July 17, 2011

Product Review - Cheery Lynn Designs - Doily Dies

Hello Scrappers - it's time for another product review.  Today I picked up a new (well new to me, I guess they have been on the market for a while) product called the Doily Die - it's by a company called Cheery Lynn Designs.

 The Die Cut Plate

This die is VERY intricate and has a lot of detail to it.  It is about 4x4 inches so it's a decent size, made of metal, so it's similar to the Spellbinders dies.  However; due to it's hundreds, and do I mean HUNDREDS of itsy bitsy little teeny weeny die cut parts it takes several passes to get all of the cuts through the paper.  Oh yes, and that's another thing ... use paper, don't attempt this with Cardstock, it's simply too thick and you won't get the detail that you are expecting.

I do suggest that you read the instructions first before attempting to use this die.  The manufactures recommend that you use removable tape, and I found that you need it in more than just two or three spots, I found that 5 pieces kept the die from moving around on the paper.  I also recommend watching their YouTube tutorial.  They recommend several passes in your die cut machine, and rotating the die.  I ran the die and paper through my Big Shot 3 times, and rotated the die 45 degrees once.  On the video they ran it through about 5 times, and rotated 3 times. 

I found that it doesn't cut as well as a spellbinder, maybe a few more passes would have resolved that.  I'm also a firm believer of practice makes perfect - I will get better at it, they will turn out nicer, I'll play around with different 'sandwiches' and passes and turns etc.

I did find that the paint that they use to enamel the die transferred a little to the paper, but I think that might lessen in time as well.

You will notice on my Final Result photo that there are a few spots that I wasn't able to get the pieces out without tearing the rest of the doily - a little discounted.

FINAL RESULT

Overall would I recommend this die cut ... I'd say I give it a 7 out of 10.  Its not an easy tool, but the results are stunning! If you can get over the multitude of confetti it creates in your studio, and the time it takes to get all said confetti out of the die (I recommend a stiff bristled dry paintbrush)  Not sure it's worth the $25 price tag, but it sure does make a pretty doily (but then again so does the dollar store)  That's the frugal scrapper coming out in me I guess.  But the trend spotter in me just had to have this new tool.

If you have tried this product or have questions or comments I would love to hear your feedback too.  Comments are free - and they can be anonymous too if you wish.

Happy crafting,

Lorena

Wednesday, July 6, 2011

Page maps sharing


Here are a few layouts that I've done recently for  Auntie Em's Scrapbooking from the Page Maps Calendar.

This is for the July Page Map. I used Echo Park's Life's Good collection for this one that I call "Sweet Tooth Teeth" I used the Bakers Twine to "x" out the word Tooth to make it teeth.  A little ruffles under the edge of the photos and there you go!  My husband has such a sweet tooth, and now so does my daughter ... I know she doesn't get it from me!


Bloom

For this layout (June's Pagemap) I used Bo Bunny's Double Dot and some very old "Kitchen Spice" from Bo Bunny again.  The buttons are Basic Grey, I also used my sewing machine quite a bit on this for stitching and my 'famous' mitred frame. 


Total Pageviews

LinkWithin

Related Posts with Thumbnails