Sharing some layouts I did of my daughter's first day of school - my son was so distraught his sister was gone - his first day separated from her in his life! I used the Little Yellow Bicycle's Head Of The Class collection
Showing posts with label Little Yellow Bicycle. Show all posts
Sunday, March 31, 2013
Wednesday, September 19, 2012
Auntie Em's September challenge - Hello Fall by Little Yellow Bicycle
One of the two favorite seasons in my home is fall (the other is spring) we love the warm "second summer" that you get in late September or early October, and love the pumpkins and the beautiful leaves turning colour. This month Emma challenged the Design Team to make their own titles, and while I typically will use my Cricut for something like that, I decided to use a cut out and hand write the remainder of my title. I don't do enough journaling on my pages. The sketch was very circular, and since this paper from Little Yellow Bicycle had the perfect pumpkin orange in it, I decided to make a pumpkin out of one of my circles.
I managed to squeeze out a second layout out of the leftover papers - this one was not based on the sketch. I entered it in the Newington fair and received a blue ribbon (that's 2nd place for us Canadians!) I was very pleased how this layout turned out.
If you would like to see either of these layouts or any of the others that you see on the blog in person they are all displaying proudly at Auntie Em's Scrapbooking in Cornwall.
You too can play along with this challenge, create a layout using product purchased at Auntie Em's based on the sketch from Scrapbook & Cards Today calendar (September) and your challenge is to make your own title! I can tell you that the prize from last month was amazing - over a $45 value!!! Who knows what Emma is going to give away this month, you still have two weeks to bring in your layout - you can't win if you don't play!
Thursday, March 15, 2012
A little Paradise in my life ...
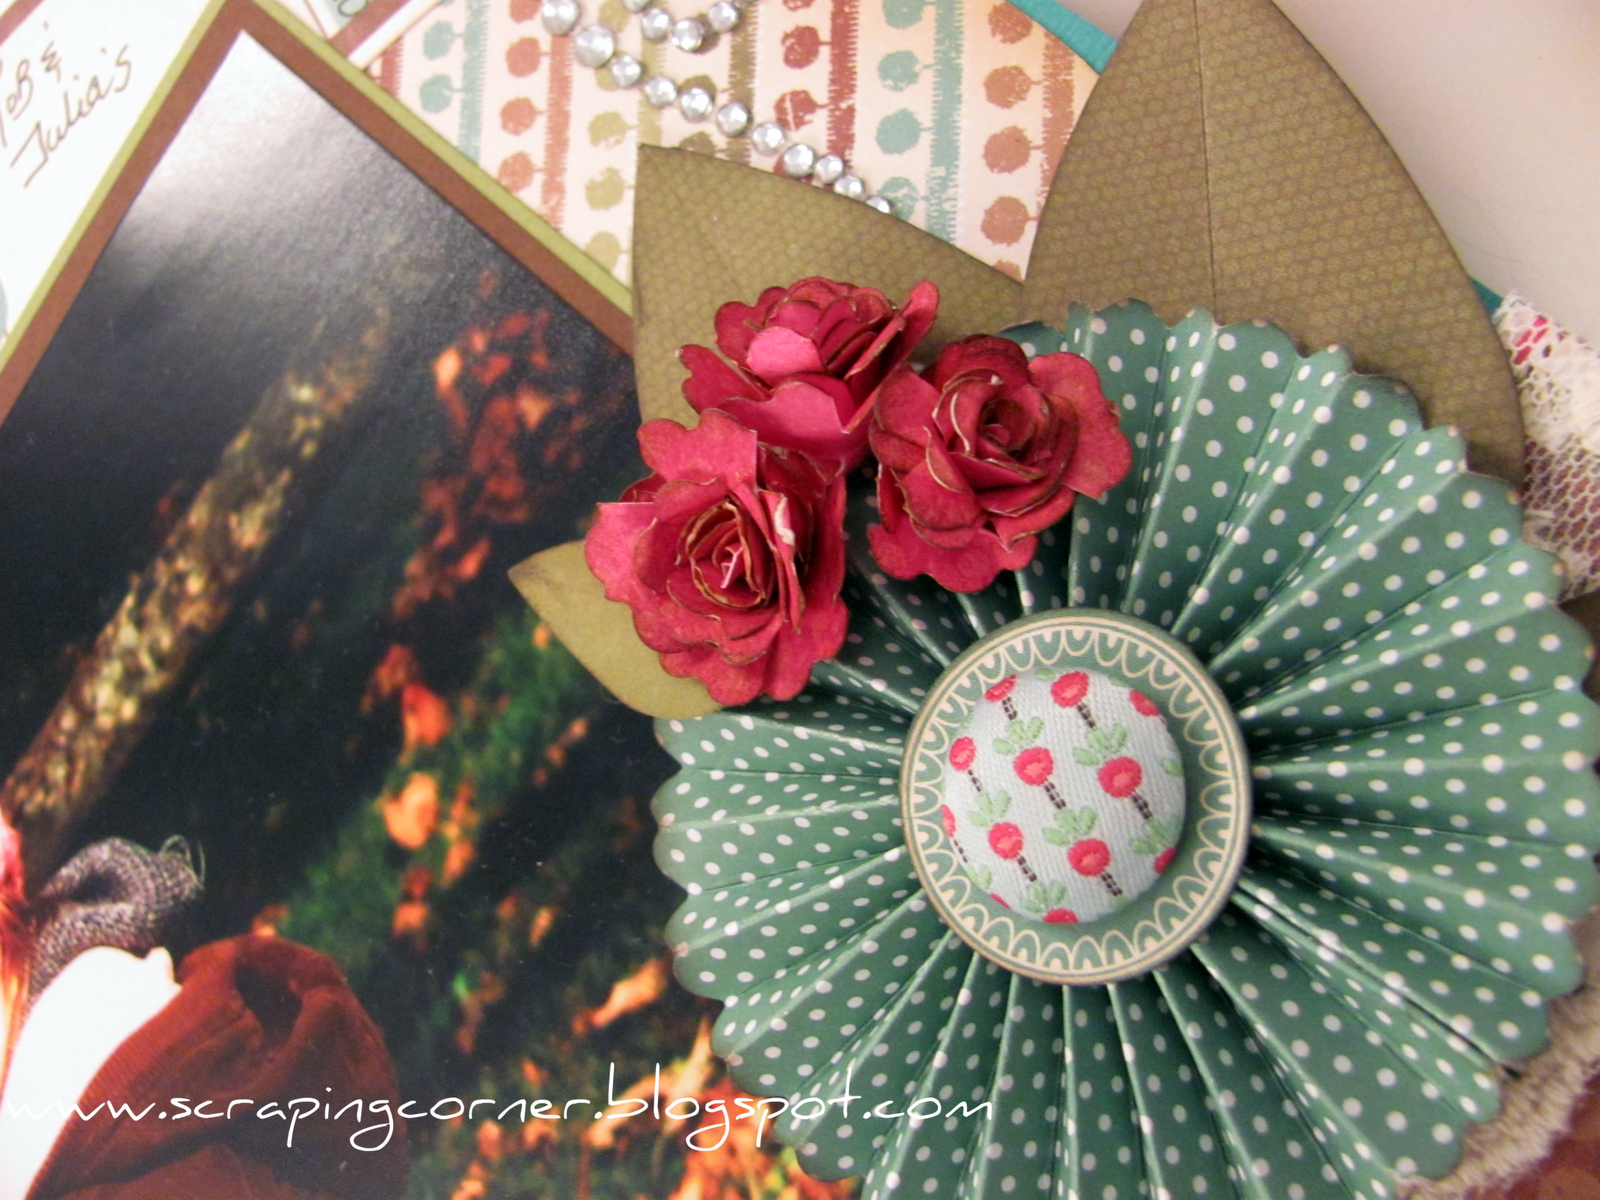
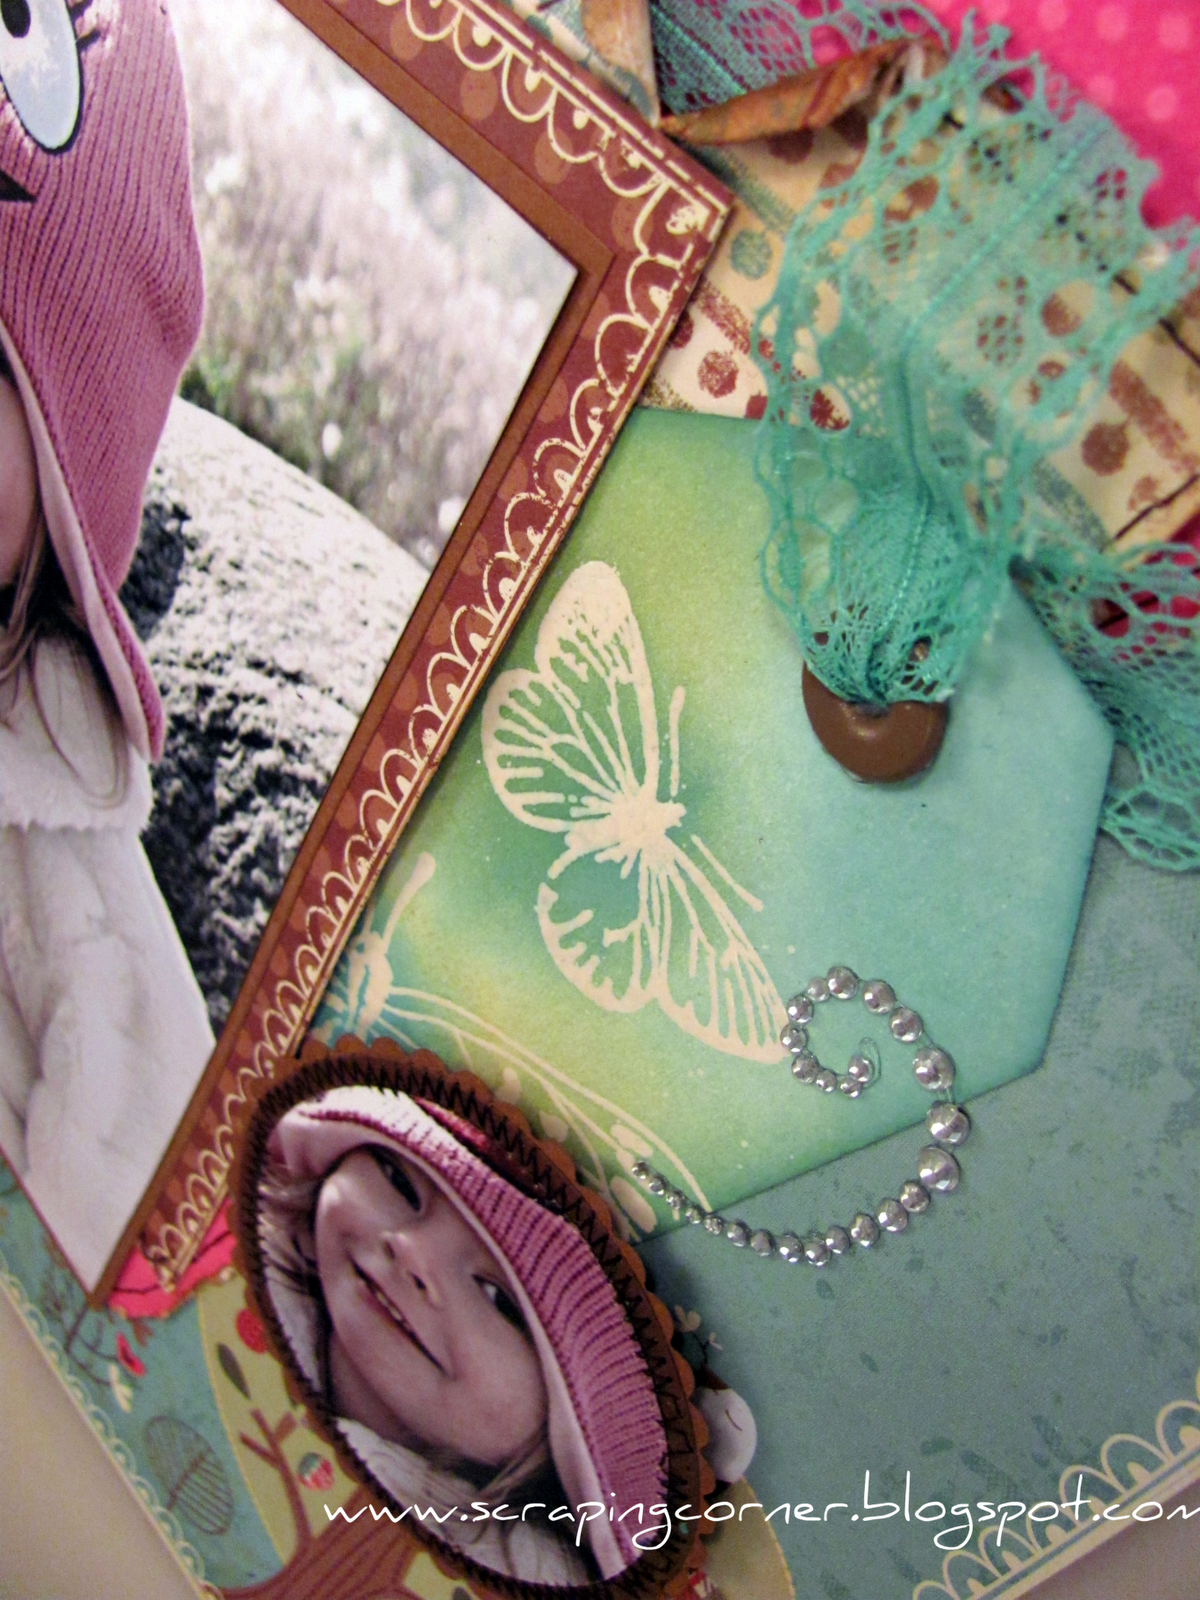
Sharing two layouts I did with the Paradise collection from Little Yellow Bicycle. I just adore teal green and dark pink together. Toss in some chocolate brown and well that is the best colour combination on the planet! I also love the texture of LYB cardstock, it looks like linen on top, and it is THICK it distresses very well.
Tree Hugger
Untitled
Supply list:
Patterned paper - Little Yellow Bicycle - Paradise collection
Cardstock - Bo Bunny double dot; Bazzil basics
Flowers - LYB; Prima, Webster's Pages, hand made (pink roses)
Trim and accessories - Webster's Pages (lace), We R Memory Keepers (twine, eyelet), Bo Bunny (trinket), Dollarama (bling), Prima (pebbles)
Punches - Martha Stewart
Thanks for looking!
~Lorena~
Tree Hugger
Untitled
Supply list:
Patterned paper - Little Yellow Bicycle - Paradise collection
Cardstock - Bo Bunny double dot; Bazzil basics
Flowers - LYB; Prima, Webster's Pages, hand made (pink roses)
Trim and accessories - Webster's Pages (lace), We R Memory Keepers (twine, eyelet), Bo Bunny (trinket), Dollarama (bling), Prima (pebbles)
Punches - Martha Stewart
Thanks for looking!
~Lorena~
Wednesday, March 7, 2012
More Little Yellow Bicycle Winter Twig
Crisp blue, cool steely grey, a hint of mossy green and a dash of chocolate brown accent. The Winter Twig collection from Little Yellow Bicycle is great to work with. I have always loved the canvas like texture to LYB papers. I did however pair this winter paper with photos of my son that were not taken in the winter at all, they were in fact taken in the hottest week in September, but the colour in his shirt really went well with this paper - who says you have to have winter photos on a winter paper?
Little One
I kept a very horizontal look to this very simple layout and added a title that I cut with my Cricut (Calligraphy Collection) and distressed with some Ranger Distressing Inks (vintage photo & gathered twigs) Two of my handmade flowers top off this layout and of course some Prima leaves tucked in there. I am SO not afraid to put flowers on my boy layouts - not even a little!
Smile
I used Ranger Distress Stain in Picket Fences to tone down the beautiful pine cone paper so that I could journal on it. I altered the colour on the button to my liking by using my copic markers and giving it a textured look. My favorite chipboard letters from Basic Grey (Piper in Milk Chocolate Chip - and had I known they would discontinue making them I would have bought 50 packages!!!) I made my own flowers as usual - two different styles; and if you are interested in learning some of my flower techniques I suggest that you sign up for my flower making class that I will be giving at Tina's Scrapbooking Creations on April 25th. I supply all the materials and show you how to make 5 different flowers to add to your layouts, cards and altered projects, all for the amazing low cost of $20!
Little One
I kept a very horizontal look to this very simple layout and added a title that I cut with my Cricut (Calligraphy Collection) and distressed with some Ranger Distressing Inks (vintage photo & gathered twigs) Two of my handmade flowers top off this layout and of course some Prima leaves tucked in there. I am SO not afraid to put flowers on my boy layouts - not even a little!
Smile
I used Ranger Distress Stain in Picket Fences to tone down the beautiful pine cone paper so that I could journal on it. I altered the colour on the button to my liking by using my copic markers and giving it a textured look. My favorite chipboard letters from Basic Grey (Piper in Milk Chocolate Chip - and had I known they would discontinue making them I would have bought 50 packages!!!) I made my own flowers as usual - two different styles; and if you are interested in learning some of my flower techniques I suggest that you sign up for my flower making class that I will be giving at Tina's Scrapbooking Creations on April 25th. I supply all the materials and show you how to make 5 different flowers to add to your layouts, cards and altered projects, all for the amazing low cost of $20!
Monday, February 27, 2012
Winter Twig cards
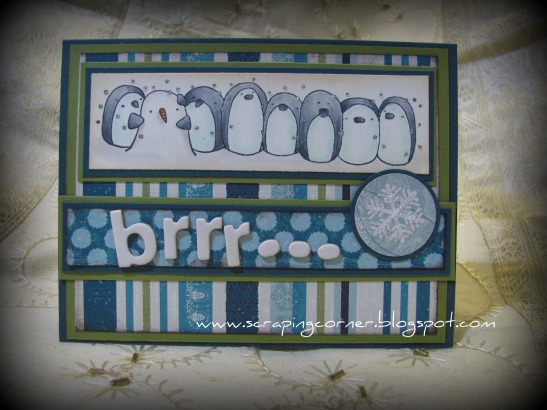
Here are a couple of cards I made with the Winter Twig collection from Little Yellow Bicycle.
I used some Penny Black stamps as well - Mimi's Christmas and coloured with my copics.
(This is the inside of the 2nd card)
Let me know what you think!
I used some Penny Black stamps as well - Mimi's Christmas and coloured with my copics.
(This is the inside of the 2nd card)
Let me know what you think!
Friday, January 27, 2012
Thursday, October 27, 2011
First Christmas Layout of 2011!
Well there is less than two months to Christmas .... yes, believe it or not, you have less than 60 shopping days left to get all of your gifts bought, wrapped and under the tree.
Traditionally I put the tree up on December 1st, but I'm just not feeling the spirit ... maybe I will in December, but until then I have my craft - my art - my scrapbooking.
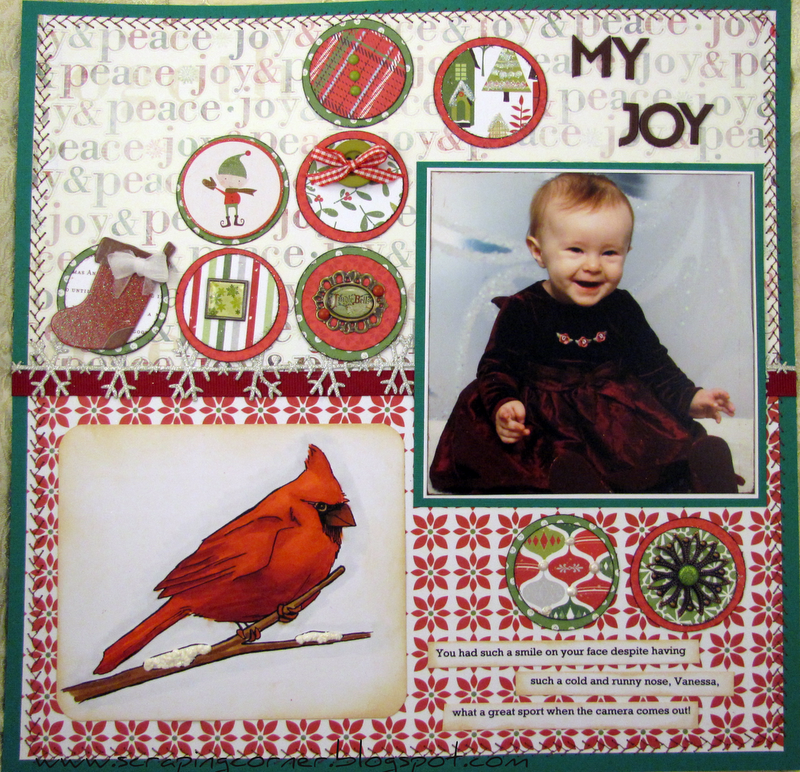
Tina gave me some Little Yellow Bicycle "Wonder & Wishes" to design with. I used an old photo of my daughter. This was her first official photo shoot. I think it was November 2008. All I remember is she has a really snotty nose, and it was just after my father had passed away. It really wasn't a great time in my life. But she was such a good sport, she smiled so big for the camera ... I was one proud Momma that day.
I used the Scrapbook & Cards Today 2011 Sketch Calendar for this layout. I always love a single photo layout, and December was perfect for this layout.
My Joy
I'm also thinking of applying for a new DT position. This one with Copic Marker Scrapbooking. They get alot of exposure and I think I might be a good fit. Sometimes I doubt my ability. I think that everyone is so much better than me. What is the worst thing that can happen/be said? Well they can say "thank you for your interest, but we have selected others" and then I look at who they have selected and say "wow, they are good, damn good, you made the right decision" but if you don't try you never will get rejected, nor will you get selected huh?
So, anyway, the cardinal is from Copic Marker Scrapbooking. I'm still sitting on the fence weather to send this to them or not. Notice the Puffy Velvet on the branch? It's suppose to look like snow .... hubby says it looks like bird poop.
That's it for this round, enjoy!
Traditionally I put the tree up on December 1st, but I'm just not feeling the spirit ... maybe I will in December, but until then I have my craft - my art - my scrapbooking.
Tina gave me some Little Yellow Bicycle "Wonder & Wishes" to design with. I used an old photo of my daughter. This was her first official photo shoot. I think it was November 2008. All I remember is she has a really snotty nose, and it was just after my father had passed away. It really wasn't a great time in my life. But she was such a good sport, she smiled so big for the camera ... I was one proud Momma that day.
I used the Scrapbook & Cards Today 2011 Sketch Calendar for this layout. I always love a single photo layout, and December was perfect for this layout.
My Joy
Supply list:
Patterned Paper: Little Yellow Bicycle
Cardstock: Bazzil
Extras: Little Yellow Bicycle chipboard, Basic Grey letters, button, and brads, Bo Bunny Trinkets, Misc. ribbon.
I white washed the "joy to my world" patterned paper at the top, it was just too distracting, not that the poinsettia paper at the bottom wasn't, but I could cover most of it up with the photo, journaling and Copic image.
So, anyway, the cardinal is from Copic Marker Scrapbooking. I'm still sitting on the fence weather to send this to them or not. Notice the Puffy Velvet on the branch? It's suppose to look like snow .... hubby says it looks like bird poop.
That's it for this round, enjoy!
Monday, January 17, 2011
Seasonal Kit from Tina's Scrapbooking Creations - Winter layouts (3)
Well, Tina stumped me again with her various patterned papers in her Seasonal Kit, a grand mix of Echo Park, Little Yellow Bicycle, Bo Bunny, Creative Imaginations and some little trinkets.
Well, here is what I have come up with so far, three layouts, and started my fourth.
The first I will call Yuletide Carols;
Using the Little Yellow Bicycle paper as a title for this one, I used my clear embossing technique with a roller stamp that I have from Stampin' Up for the music notes on the background. I stitched around the outside edge (told you would see more stitching from me!) I covered a chipboard tag from the kit and used the ribbon from the kit to complete it. The journaling reads
OK, Tina is going to kill me over this one, but I absolutely hated the Little Yellow Bicycle paper that she put in there, it is full of Christmas sayings, some of it in metallic red foil print ... so what did I do with that paper? Aside from the odd little word here or there that I cut out and used for titles etc. I flipped it over and used the white backside and glimmer misted it! I cut out some of the ornaments from the Creative Imaginations paper and the trees from the same line, and used pop-dots to give it some dimension. This is my absolute favorite photo this Christmas, and it wasn't even taken by myself, it was taken by my sister. We must have taken 100 photos that day, and this was the best we got! I used Glossy Accents on the title to make it pop. No stitching on this one, but I did dashed lines to look like stitching. The journaling reads
Well, here is what I have come up with so far, three layouts, and started my fourth.
The first I will call Yuletide Carols;
Using the Little Yellow Bicycle paper as a title for this one, I used my clear embossing technique with a roller stamp that I have from Stampin' Up for the music notes on the background. I stitched around the outside edge (told you would see more stitching from me!) I covered a chipboard tag from the kit and used the ribbon from the kit to complete it. The journaling reads
"With their eyes all a glow... You guys enjoyed that electronic piano that Daddy got you for Christmas SO MUCH! Hours of fun tickling the ivory! Nigel & Vanessa Dec. 27th 2010"
The second I am calling Waiting...
OK, Tina is going to kill me over this one, but I absolutely hated the Little Yellow Bicycle paper that she put in there, it is full of Christmas sayings, some of it in metallic red foil print ... so what did I do with that paper? Aside from the odd little word here or there that I cut out and used for titles etc. I flipped it over and used the white backside and glimmer misted it! I cut out some of the ornaments from the Creative Imaginations paper and the trees from the same line, and used pop-dots to give it some dimension. This is my absolute favorite photo this Christmas, and it wasn't even taken by myself, it was taken by my sister. We must have taken 100 photos that day, and this was the best we got! I used Glossy Accents on the title to make it pop. No stitching on this one, but I did dashed lines to look like stitching. The journaling reads
"Patiently waiting for Santa Vanessa 2010"
The third I am calling Frosty The SnowDUDE; it is based on a sketch by one of Tina's designers Jill Sarginson. You know me and circles, I love them!! I kept this layout pretty tone on tone with the blues and browns from the kit. More stitching around the border. I tried to give this layout some dimension by making the snowflakes in layers. I glimmer misted the backside of the LYB paper again for the inside of the snowflakes. I put my Big Shot to use with a snowflake embossing folder in the smaller blue circle. I used Glossy Accents again on my title to make it stand out. The journaling reads
"Daddy helped Vanessa build a SNOW DUDE! Complete with a MOHAWK!! December 2010"
Subscribe to:
Posts (Atom)