A white pen that writes well and DOES NOT turn PINK when written on dark colours!
That, and I'm looking for a white Sharpie - not the shake-em-up paint type, the 'fine tip - perminant' everyday marker type.
Also searching for a Chicken Wire background stamp.
I need your help in locating each of those items - if you know where I can purchase any of them I may be swayed to hand out some RAK!

Welcome to my life stories in art! I am a married mother of two - banker by day, paper crafter by night! I live near our nation's capital, Ottawa Canada!
Wednesday, August 10, 2011

Monday, August 8, 2011
Projects that I forgot about
Here are some miscellaneous projects that I have done in the last few months, but never posted...
First up a thank you card I made for my sister when she took me for a SPA DAY! She was Berry Sweet to do that.

 This is a layout I did from the Spring/Summer Kit from Tina's Scrapbooking, called UP. I have other layouts that I did from this kit too, I'll try and locate them - geez I hope I didn't delete the photos!


First up a thank you card I made for my sister when she took me for a SPA DAY! She was Berry Sweet to do that.


A layout I've titled "You Make My Heart Sing" Just an amazing smile on my little baby girl here, so happy!

My husband decided to put shaving cream on the face of our son, what fun that was, he felt just like Daddy for a while!

Some Welcome to your New Home cards I made with the Stampin' Up Owl punch.

A layout using the Bo Bunny Timepiece collection (not a favorite of mine) I really don't even like this layout, or the photo for that matter ::sigh::

Wednesday, August 3, 2011
Time Flies - Happy Birthday - Bo Bunny Challenge Card
A card I made for the Card Sketch Sunday challenge over at Bo Bunny.
I call it ... TIME FLIES

Supplies:
Patterned paper - Bo Bunny - Time Piece collection
Trim = Bo Bunny - Time Piece collection
Stamp = CTMH
Rub on = Stampin Up
Other = inks and embossing powders by Ranger
How to .....
To make the watch face, I cut out the watch from patterned paper, then used Versa Mark ink and Ranger's Ultra Thick clear embossing powder in the inside of the clock face. I did this four times to give it a very thick layer. Then I twisted the paper to crack the embossing, and rubbed distress ink over the cracks to enhance them.
Tuesday, August 2, 2011
Auntie Em's Scrapbooking August Reveal
Wow, is August really here? Where did the summer go? I must say, this year we vowed to spend more time at home in our own back yard rather than being on the go so much. We have an outdoor fireplace and some Adirondack chairs set up beside the pool, right next to the kids sandbox and 'jumpy castle' and I tell ya, I have more fun here than I do driving for hours to spend money on an event just to drive home again. My daughter calls her sandbox the 'beach', and when she is done at the beach we just jump right into the pool .... life is grand, and we have one more month of grand before the cool afternoons return and even colder nights ... and that dreaded four letter "S" word {snow}
The Scrapbook & Cards Today Calendar sketch for the month of August is just amazing, and both my co-designer Mellisa & I were really looking forward to it. I am a huge fan of single photo layouts. I loved this layout so much that I did it TWICE.
This month we go to work with an amazing line from Bo Bunny called Gabrielle - full of peach and browns and teals - and tones of butterflies. Oh what a fan! Although I must say I am looking forward to seeing the Et Cetera line in person - it totally looks my style.
Your Radiant Smile


Peek-A-Boo


Be sure to check out the Auntie Em's Scrapbooking blog here, to see both Melissa's and my August Reveals!
Thanks for looking!
~Lorena~
The Scrapbook & Cards Today Calendar sketch for the month of August is just amazing, and both my co-designer Mellisa & I were really looking forward to it. I am a huge fan of single photo layouts. I loved this layout so much that I did it TWICE.
This month we go to work with an amazing line from Bo Bunny called Gabrielle - full of peach and browns and teals - and tones of butterflies. Oh what a fan! Although I must say I am looking forward to seeing the Et Cetera line in person - it totally looks my style.
Your Radiant Smile


Supplies :
Patterned Paper = Bo Bunny - Gabrielle collection
Buttons & Charms = Bo Bunny Gabrielle collection
Flowers = Prima, Websters Pages
Trim = Websters Pages
Stamps = Martha Stewart & Harmonie
Ink = Distress Ink by Ranger
Other = handmade flower - canvas & distress ink on a Glueber
This photo was taken by my sister when she and my husband took the kids to the Tulip Festival in Ottawa earlier this year. They are looking through the pillars to the Rideau River below. What a great vantage point. I colour washed this photo so that the bright colours in their outfits wouldn't detract from the rest of the layout. I find that sometimes you need just a hint of colour in a photo, and don't want to do it completely Sepia.


Supplies :
Patterned Paper = Bo Bunny - Gabrielle collection
Buttons & Charms = Bo Bunny Gabrielle collection & Stampin Up
Flowers = Prima, Websters Pages
Ink = Distress Ink by Ranger
Journaling = my antique typewriter
Bling = dollar store
Be sure to check out the Auntie Em's Scrapbooking blog here, to see both Melissa's and my August Reveals!
~Lorena~
Saturday, July 30, 2011
Pink Paislee - Butterfly Garden
Two layouts to share using the A-MA-ZING Butterfly Garden collection. What a fantastic line, full of soft peaches, light blues and distressed browns. Just begging for a shabby chic!
The first layout isn't really titled, but I will call it "Imagine" as that's the Tim Holtz trinket tag I used on it - I haven't thought of anything suitable, and therefore it contains no journaling either. I did some masking and Glimmer Mist stamping, and small beige flower at the right if the ribbons and trim is one of my own creation. You may have seen it in an earlier posting.


The second layout I've called "Tackle" and the journaling reads
"You two have so much fun tackling each other on the floor. But for some reason its always Nigel who comes out of it with a bruise"

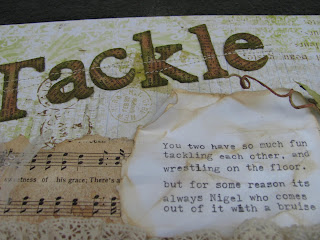

 I used a few different materials on this piece, I braided some raw canvas, and did the letters in chipboard covered in dictionary text. I also used a piece of material that you use to hem with - it is called fusible web - it was really neat to work with, as it will stick to whatever you have it touching when you apply heat - which I did with my heat gun. One of my Cabbage Roses, this time made out of a page from a hymn book and sprayed with Glimmer Mist. I also used some Staz On ink on acetate to make some 3D butterflies.
Happy crafting everyone!
Enjoy!
The first layout isn't really titled, but I will call it "Imagine" as that's the Tim Holtz trinket tag I used on it - I haven't thought of anything suitable, and therefore it contains no journaling either. I did some masking and Glimmer Mist stamping, and small beige flower at the right if the ribbons and trim is one of my own creation. You may have seen it in an earlier posting.


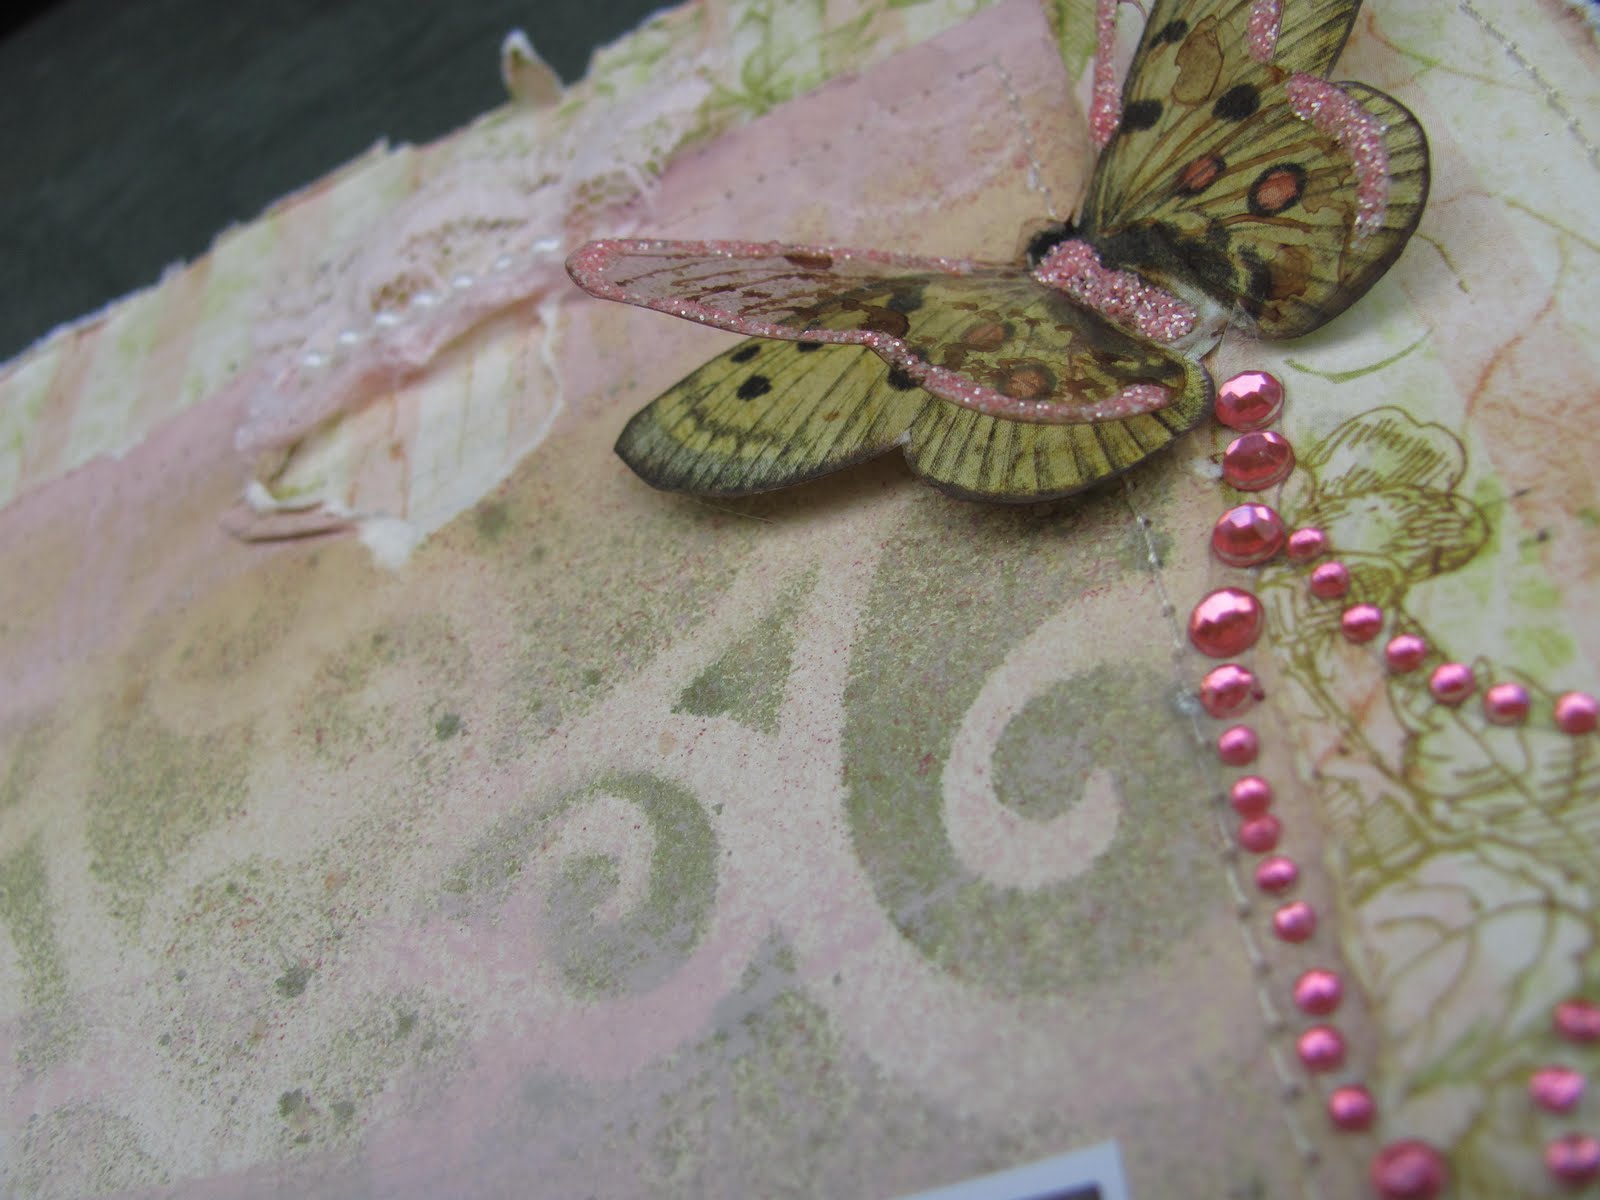
The second layout I've called "Tackle" and the journaling reads
"You two have so much fun tackling each other on the floor. But for some reason its always Nigel who comes out of it with a bruise"


Happy crafting everyone!
Enjoy!
Monday, July 25, 2011
Little bit of Copic, little bit of Magnolia, little bit of Bo Bunny
Kinda reminds me of that song Mambo #5 by Lou Bega! A little bit of Copic, a little bit of Magnolia, and little bit of Bo Bunny Gabrielle line ... wow what a beautiful card. Topped off with my signature cabbage rose. This time I added a spiked centre to the flower to give it a punch of the blue colour.
Bo Bunny put out a challenge to make your own embellishment. Well if you know me, then you know I love making my own flowers and always put at least one flower on every project that I make - this card is no exception.
I tried to match the colours in the amazing Gabrielle with my Copics and used a Magnolia stamp "Tilda with Flowers"
 I hope you enjoyed my latest endeavor, let me know what you think!
Bo Bunny put out a challenge to make your own embellishment. Well if you know me, then you know I love making my own flowers and always put at least one flower on every project that I make - this card is no exception.
I tried to match the colours in the amazing Gabrielle with my Copics and used a Magnolia stamp "Tilda with Flowers"

Sunday, July 17, 2011
Product Review - Cheery Lynn Designs - Doily Dies
Hello Scrappers - it's time for another product review. Today I picked up a new (well new to me, I guess they have been on the market for a while) product called the Doily Die - it's by a company called Cheery Lynn Designs.
 The Die Cut Plate

This die is VERY intricate and has a lot of detail to it. It is about 4x4 inches so it's a decent size, made of metal, so it's similar to the Spellbinders dies. However; due to it's hundreds, and do I mean HUNDREDS of itsy bitsy little teeny weeny die cut parts it takes several passes to get all of the cuts through the paper. Oh yes, and that's another thing ... use paper, don't attempt this with Cardstock, it's simply too thick and you won't get the detail that you are expecting.
I do suggest that you read the instructions first before attempting to use this die. The manufactures recommend that you use removable tape, and I found that you need it in more than just two or three spots, I found that 5 pieces kept the die from moving around on the paper. I also recommend watching their YouTube tutorial. They recommend several passes in your die cut machine, and rotating the die. I ran the die and paper through my Big Shot 3 times, and rotated the die 45 degrees once. On the video they ran it through about 5 times, and rotated 3 times.
I found that it doesn't cut as well as a spellbinder, maybe a few more passes would have resolved that. I'm also a firm believer of practice makes perfect - I will get better at it, they will turn out nicer, I'll play around with different 'sandwiches' and passes and turns etc.
I did find that the paint that they use to enamel the die transferred a little to the paper, but I think that might lessen in time as well.
You will notice on my Final Result photo that there are a few spots that I wasn't able to get the pieces out without tearing the rest of the doily - a little discounted.
FINAL RESULT
 Overall would I recommend this die cut ... I'd say I give it a 7 out of 10. Its not an easy tool, but the results are stunning! If you can get over the multitude of confetti it creates in your studio, and the time it takes to get all said confetti out of the die (I recommend a stiff bristled dry paintbrush) Not sure it's worth the $25 price tag, but it sure does make a pretty doily (but then again so does the dollar store) That's the frugal scrapper coming out in me I guess. But the trend spotter in me just had to have this new tool.
If you have tried this product or have questions or comments I would love to hear your feedback too. Comments are free - and they can be anonymous too if you wish.
Happy crafting,
Lorena


This die is VERY intricate and has a lot of detail to it. It is about 4x4 inches so it's a decent size, made of metal, so it's similar to the Spellbinders dies. However; due to it's hundreds, and do I mean HUNDREDS of itsy bitsy little teeny weeny die cut parts it takes several passes to get all of the cuts through the paper. Oh yes, and that's another thing ... use paper, don't attempt this with Cardstock, it's simply too thick and you won't get the detail that you are expecting.
I do suggest that you read the instructions first before attempting to use this die. The manufactures recommend that you use removable tape, and I found that you need it in more than just two or three spots, I found that 5 pieces kept the die from moving around on the paper. I also recommend watching their YouTube tutorial. They recommend several passes in your die cut machine, and rotating the die. I ran the die and paper through my Big Shot 3 times, and rotated the die 45 degrees once. On the video they ran it through about 5 times, and rotated 3 times.
I found that it doesn't cut as well as a spellbinder, maybe a few more passes would have resolved that. I'm also a firm believer of practice makes perfect - I will get better at it, they will turn out nicer, I'll play around with different 'sandwiches' and passes and turns etc.
I did find that the paint that they use to enamel the die transferred a little to the paper, but I think that might lessen in time as well.
You will notice on my Final Result photo that there are a few spots that I wasn't able to get the pieces out without tearing the rest of the doily - a little discounted.
FINAL RESULT

If you have tried this product or have questions or comments I would love to hear your feedback too. Comments are free - and they can be anonymous too if you wish.
Happy crafting,
Lorena
Subscribe to:
Posts (Atom)
LinkWithin
